Friday, 22 August 2014

A Flower for Wendy

Pre-edit :: hope you will forgive the haphazard photographs; luckily I did manage to find a 'first tutorial' of photos;  I did subsequently change the photos to match the first two in a different background colour.  BUT .. the instructions are all as was, and the photographs illustrate where necessary.


A Flower for Wendy

In my last post, I promised a pattern for this pretty flower, which I have called A Flower for Wendy.   Wendy is one of my very closest friends, for whom I made a blanket called Emily's Blanket ~ A Garden of Flowers, and in which I added an extra bloom .. A Flower for Wendy!


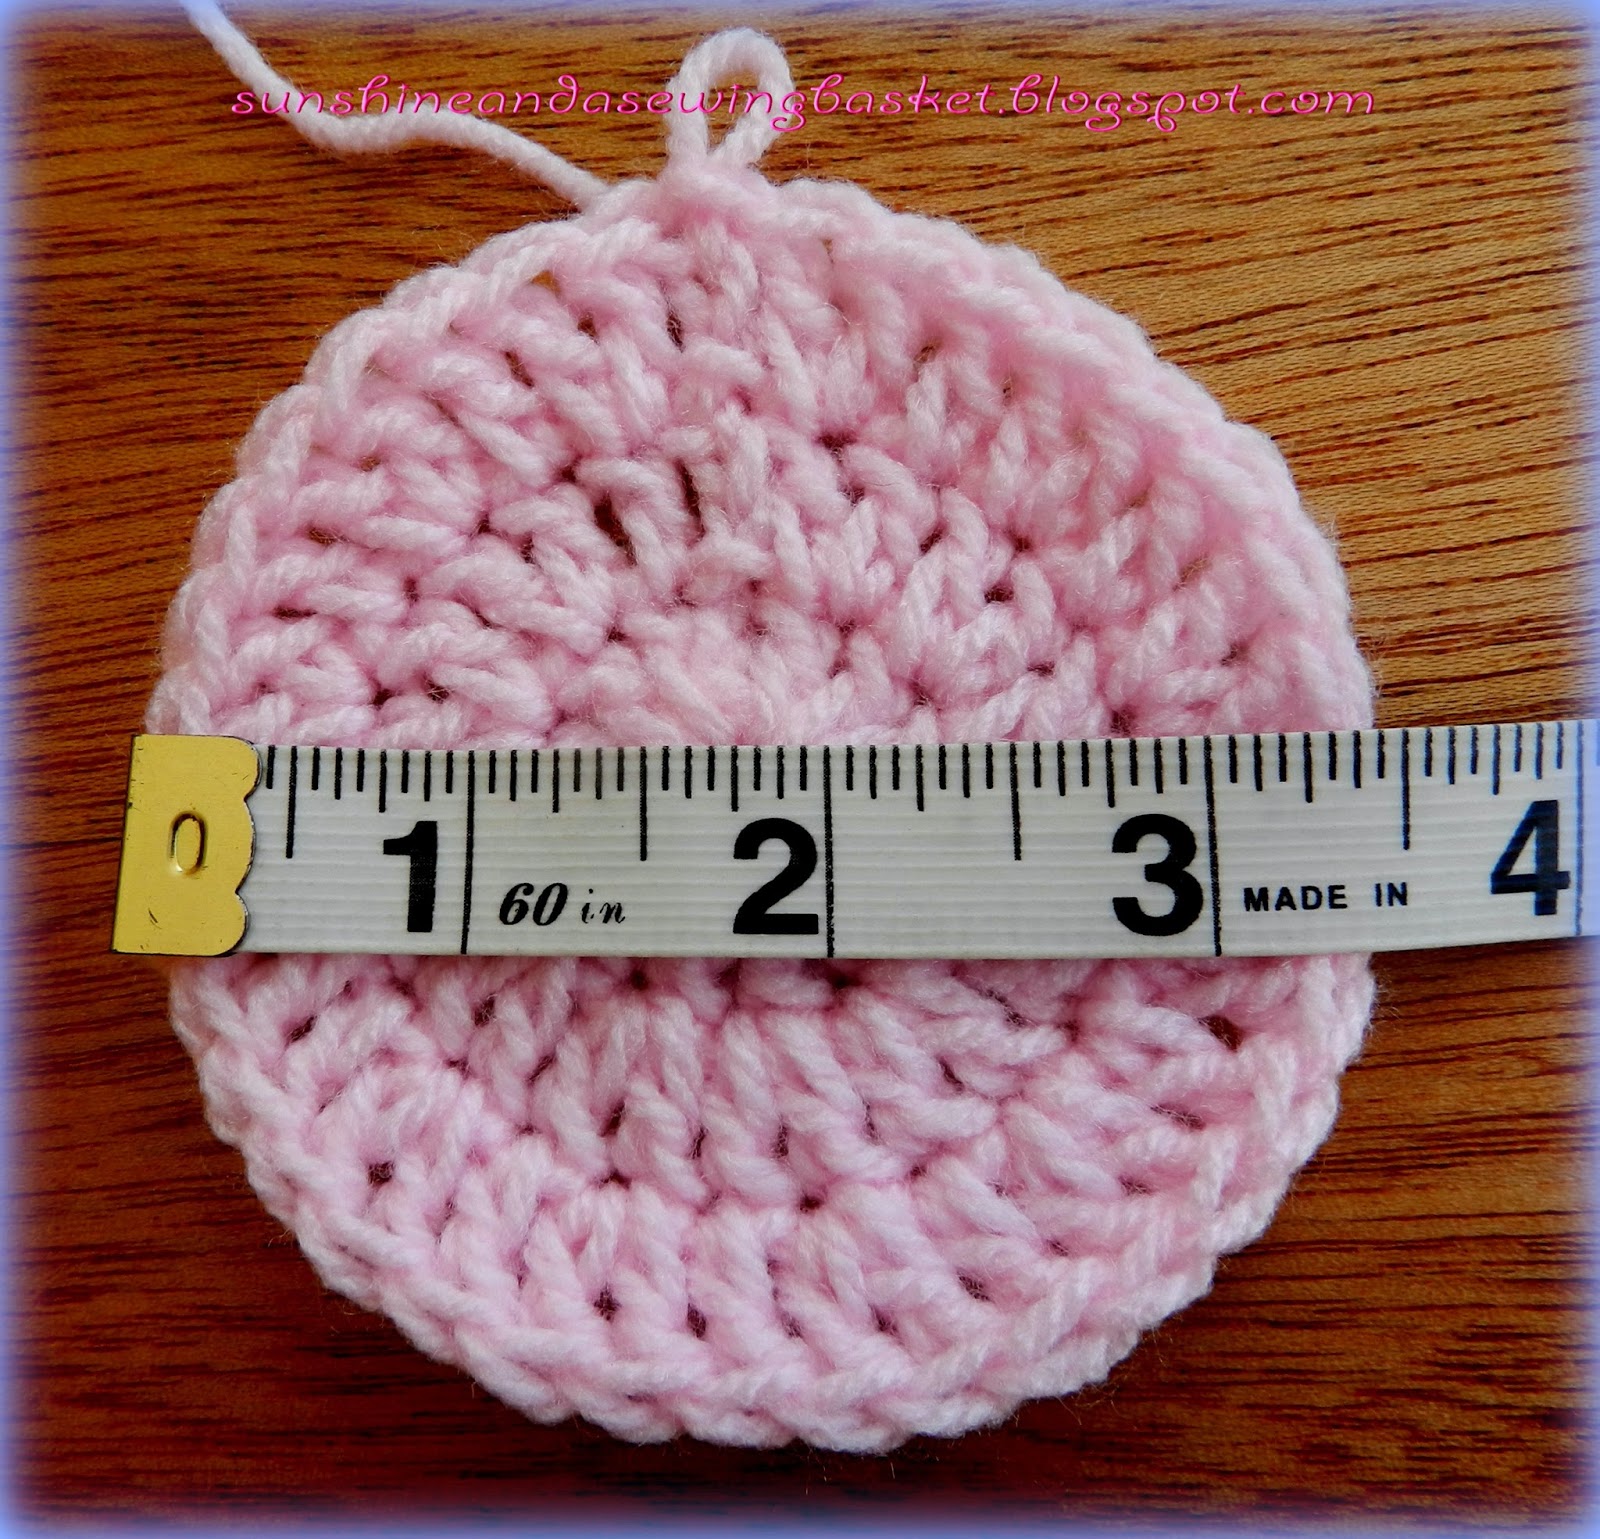
I crocheted the sample on a 3.5mm hook, using a DK yarn. 
Abbreviations:  yo ~ yarn over, sc ~ single crochet, dc ~ double crochet (yarn once over hook), tr ~ treble crochet (yarn twice over hook) l st ~ slip stitch
I have used US terms;  I have a small conversion chart under favourite tutorials above, for UK terms. May I apologise for one or two of the photos ... the sun disappeared and reappeared when I was taking them ...  so frustrating! Today is too glorious I am happy to say ♥ 

Lets begin:

Row 1 ~ make a magic circle or crochet 5 chain and join with a sl st to form a circle.  

Row 2 ~ Into the circle, crochet 8 sc, close with a sl st into first sc.

Row 3 ~ Into each of the eight dc, crochet a Puff st.  To work a Puff st:   Yo, insert hook in dc st and pull up a long loop; repeat 3 times, yo and pull through all 7 remaining loops on hook, ch 1 to close; chain 1.  Repeat until you have completed 8 Puff Sts, each separated by 1 ch.  After last Puff St and 1ch, sl st into top closing chain of first Puff St to end round.


Eight Puff Sts 

Row 4 ~ Join new colour into any 1 chain space, proceed with the first petal as follows:  1sc, 1dc, 3tr, 2dc (7 sts in total) and then ch3.  Remove hook from the loop, insert hook into top of first sc then into the loop, pull the loop through the sc, then  make 1sc to secure the st; crochet 2 sl sts around the 3ch loop you have just made at the back of the petal; then do ch 2.  This completes one petal. The pictures below will help to you to follow.  For Petals 2-8, proceed from * Into next 1ch space, 1sc, 1dc, 3trs, 2dcs and chain 3, remove hook from loop, insert hook into top of first sc then into the loop, pull loop through the sc and make 1sc to secure the st.  Crochet 2 sl sts round the 3ch loop then chain 2*  Secure Petal 8 to Petal 1 by sl st into top of beg sc of Petal 1.

                                     
First petal plus 3ch

Draw loop through sc

Make 2 sl sts around 3 ch loop

Second petal plus 3 ch
Eight petals complete ~ front view

Eight petals complete - back view


Row 5 ~ Using the loops behind the petals, we are going to work a granny clusters.

Proceed as follows ~
Attach new colour yard to any loop.  Make first corner by working 3ch (to stand as first dc) 2dc, 2ch, 3dc. Into next loop behind next petal, crochet 2dc, 1ch, 2dc, into next loop work a corner thus 3dc, 2ch, 3dc.  Continue working into back loops, making 4 corners and 4 groups of 2dc 1ch 2dc in between the corners.  Sl st into top of 3ch to close row. 
A corner of 3dc 2ch 3dc

Group of 2dc 1ch 2dc

Completed Granny cluster round


Row 6 ~
Sl st along into corner 2ch.  New corner, 3ch (stands as first dc) work a corner group of 2dc, 2ch, 3dc;  *into next 3 spaces before next corner, work 3dc groups. Now work a corner group. Proceed from * until you have completed the round, sl st into top of 3ch to close round.

Groups of 3dc into 3 spaces between corners 

I love this Flower Square .... I used it in every row of my Garden of Flowers Blanket. I hope you enjoy making it too, and please remember to post a photo or two on my Sunshine and a Sewing Basket FB page ... I would love to see your interpretations.


Thank you for popping by,
Hugs
Pat xxxxxxxxxxxx

Edit :: Delighted :: My Flower for Wendy square is featured in Country Crafts Granny Square Catalogue :: happy!! 


Friday, 15 August 2014

A delight to behold!


There is a little story behind this beautiful blanket!   I have a very dear and wonderful friend of long standing .. in fact we were schoolgirls when we met, and we both, lets just say, have many 'wisdom highlights'!!
Two years ago, she had occasion to offer her home to my son who had just relocated to the UK .... it was such a relief for me to know that while he found his footing he was in a warm and welcome home.  Well, I committed myself, and promised her, that I would make her a blanket to thank her for her kindness.

Three false starts and nearly two years later and I was in despair;  I was not happy with any patterns I had started. Meanwhile a beautiful creation was in progress on FB, and I noticed that my friend was taking a particular interest in the posts as well.  Ahaa ... there it was .. the light-bulb moment ... I suddenly understood this was the blanket I was destined to make for her. 

And so I set out to make my version of the beautiful 

I didn't want to change too much, the colours in the blanket are inspired!  I was awakened to how blue and turquoise roses are absolutely OK and stunningly beautiful ... I would never have been so brave before!  And furthermore ... random is wonderful and liberating!    


Here are photos of the progress ......


~ a basket of prettiness ~

~ lovely blues and greens and lilacs ~

~ the base colour is Parchment, perfect ~


~ the last row of the border in a pretty turquoise ~

~ last threads to stitch away ~


~ finished and beautiful ~

I found the making of this blanket deliciously satisfying, crocheting flower themed squares fills me with pleasure ... and during the making of this blanket, a new flower popped up in the garden!

May I introduce
The Flower for Wendy


A pattern for the Flower for Wendy will be posted soon ~ I hope you enjoy making it.

A wonderful weekend to you all,
Pat xxxxxxxxx

Just had to add this!  Yippee
Wonderful to be chosen as No.1!


Monday, 11 August 2014

Puffs and Petals Mandala


I love making mandalas!  I spend time looking at the avalanche of beautiful wheels of colour that has landed in the very capable hands of Lucy of Attic 24 and her team for the display at the Yarndale event to happen soon.  Aahh .. I so wish I could attend!   I do have my Yarndale bag, a small consolation indeed!


And so on to my most recent, very pretty mandala .... I used a pattern from Bunny Mummy called Petals and Puffs mandala.  I am also having a small love affair with Puffs and Popcorn stitches, having recently completed a gorgeous blanket with motifs featuring many little puffs.  More about that in my next post soon!


There is a Cath Kidston look about these colours... lovely!


Have a wonderful week my dears ♥
Chat soon, Pat xxxxxxxxx


Monday, 21 July 2014

A pop of colour!


Sometimes it feels so good to spoil oneself with a pop of colour for the home when outdoors is dull and dry .. I did last week!  I was having lunch with a dear friend of very long standing .. 51 years in fact ... at a lovely restaurant called the Silver Birch situated inside a nursery. I spotted a display of gorgeous Calla Lilies, or to be botanically correct Zantedeschia, as we walked in through the fabulous shopping area housing indoor plants and de-vine goodies for the garden and home.   I decided as we were leaving to spoil myself and this is the beauty I came home with! Delicious pink blooms to brighten up a little corner in my lounge!


Such loveliness♥

~ Flowers don't worry about how they are going to bloom.
They  just open up and turn toward the light, 
and that makes them beautiful ~
Jim Carrey


My Blissful Mood Blanket is pleasing me hugely .. Maybelle Flower Squares in favourite colours.  49 squares done and joined with 35 squares to go.  I am starting to think about borders ... at the moment I am leaning towards either a white lacy border, or a many-rowed border in white but also featuring some of the colours!


and on the subject of blankets, the afghan I made as a wedding gift was delivered on Sunday, and the happy couple were over the moon with it ~ Happy heart ~


I have added a second group of blogs listing some of my favourite foodies we have in South Africa, really top notch and talented, I often go to their sites for inspiration.  Do take a peek, I find most recipes can be adapted no matter where you live! 

I am working on a lovely project at the moment, called Emily's Garden Blanket ... you can see pictures of the blanket in progress on The Patchwork Heart .. it is quite the most beautiful thing I have seen in ages, and I am making it for another very dear school friend.  Pics of my progress will be in my next blog post!  I am so enjoying this project♥

Chat soon,
xxxx Pat xxx


Thursday, 3 July 2014

Layla-Lu beanie

Layla-Lu Beanie


As promised, here is the pattern for the last beanie I made for my Mandela 67 project.

Pattern info:
  • US Terms :: A conversion table is available here for UK terminology
  • Yarn ~ I used a thicker rather than thinner DK yarn
  • Hook ~ 4mm
  • Stitches used ~ dc :: double crochet; sc :: single crochet;  Sdc :: standing double crochet  
Sizing: This is a useful chart to use for choosing the appropriate size for your hat.


  • I have found using the approximate diameter in relation to the age has been successful.  I have made more than 100 hats and beanies using this formula, all with great success. And then again, making hats to fit 100% is almost impossible, it is an inexact science, since heads come in many different shapes and sizes.  So don't sweat the small stuff .. if you are a couple of mm's out (preferably under), you will still have a super result.
  • To get closest to the correct diameter, I have sometimes done my last increase row in single crochet (sc) instead of double crochet (dc).  Or used single crochets or half double crochets (hdc) in all rounds to make the crown.
  • This pattern is for the smallest hat I make;  if you want to make a bigger hat, in it's simplest form this is how the increases work, starting in Row 2:  2dc in each stitch;  Row 3: 2dc, 1dc, 2dc etc;  Row 4: 2dc, 1dc, 1dc, 2dc etc; Row 5: 2dc, 1dc, 1dc, 1dc, 2dc etc; Row 6: 2dc, 1dc, 1dc, 1dc, 1dc, 2dc etc;  so in each row you are adding an extra dc in between the 2dc's.  If you begin with 12dc in your circle, each row after that will be 12dc's more i.e. 12dc's, 24dc's, 36dc's, 48dc's ....
  • Be sure to measure the diameter across your work after adding each subsequent increase row .. you ideally need to have a measurement just under the measurement in the chart.
So lets begin .........

Start with a Magic ring or crochet 6 sc and join with a sl st to form a circle.

Row 1
Into circle ch2 or Sdc, 12dc, join with a sl st to complete row (12dc)


Row 2
Ch 3 or Sdc, 1dc into same st as join, 2dc into each dc from Row 1;  join with a sl st into top of 3ch or Sdc to complete row (24dc)


Row 3
Ch 3 or Sdc, 2 dc into next st, *1dc into next st, 2dc into next st*;  continue *~* to end of row, finishing with 2 dc into last dc; join with a sl st as before to complete row (36dc)


At this point, the diameter across your work should measure +- 3.5 inches or 9 cm.  This is the smallest hat I make, which fits a New Born babe.  You could take your measurement down to 3 inches or +- 7.5 cm if you wanted to make a really teeny hat. See how to adjust the diameter in the notes above. 


Row 4
Ch 3 or Sdc, 1dc into same st, *skip 1 st, 2 dc into next stitch*; continue *~* to end of row, finishing with 2 dc into second last st;  join with a sl st as before to complete row (18 dc pairs)


Row 5
Sl st across to first space between dc pairs.  Ch 3 or Sdc; 1dc into same space, *2 dc into each space*; continue *~*to end of row; join with a sl st to complete row (18 dc pairs)

  
Continue repeating Row 5 until you have the desired length minus ½ inch/1cm.  


Now comes the border ... an easy border is: 1ch, 1sc in each st to end,sl st in starting 1ch to join.  Do 2-3 rows.


Another super way to border a little hat is to do a Reverse Single Crochet st or Crab st.  Do 1-2 rows of sc, then a row of Crab st.  The link has a very good video tutorial on how to do this versatile stitch.  This is how it looks, I love it!


 Embellishments are so lovely to add to a little hat, here are a few gorgeous flowers with beads and buttons added ..


We are done!


Have fun crocheting the little hat, till next time
xxx Pat xxx